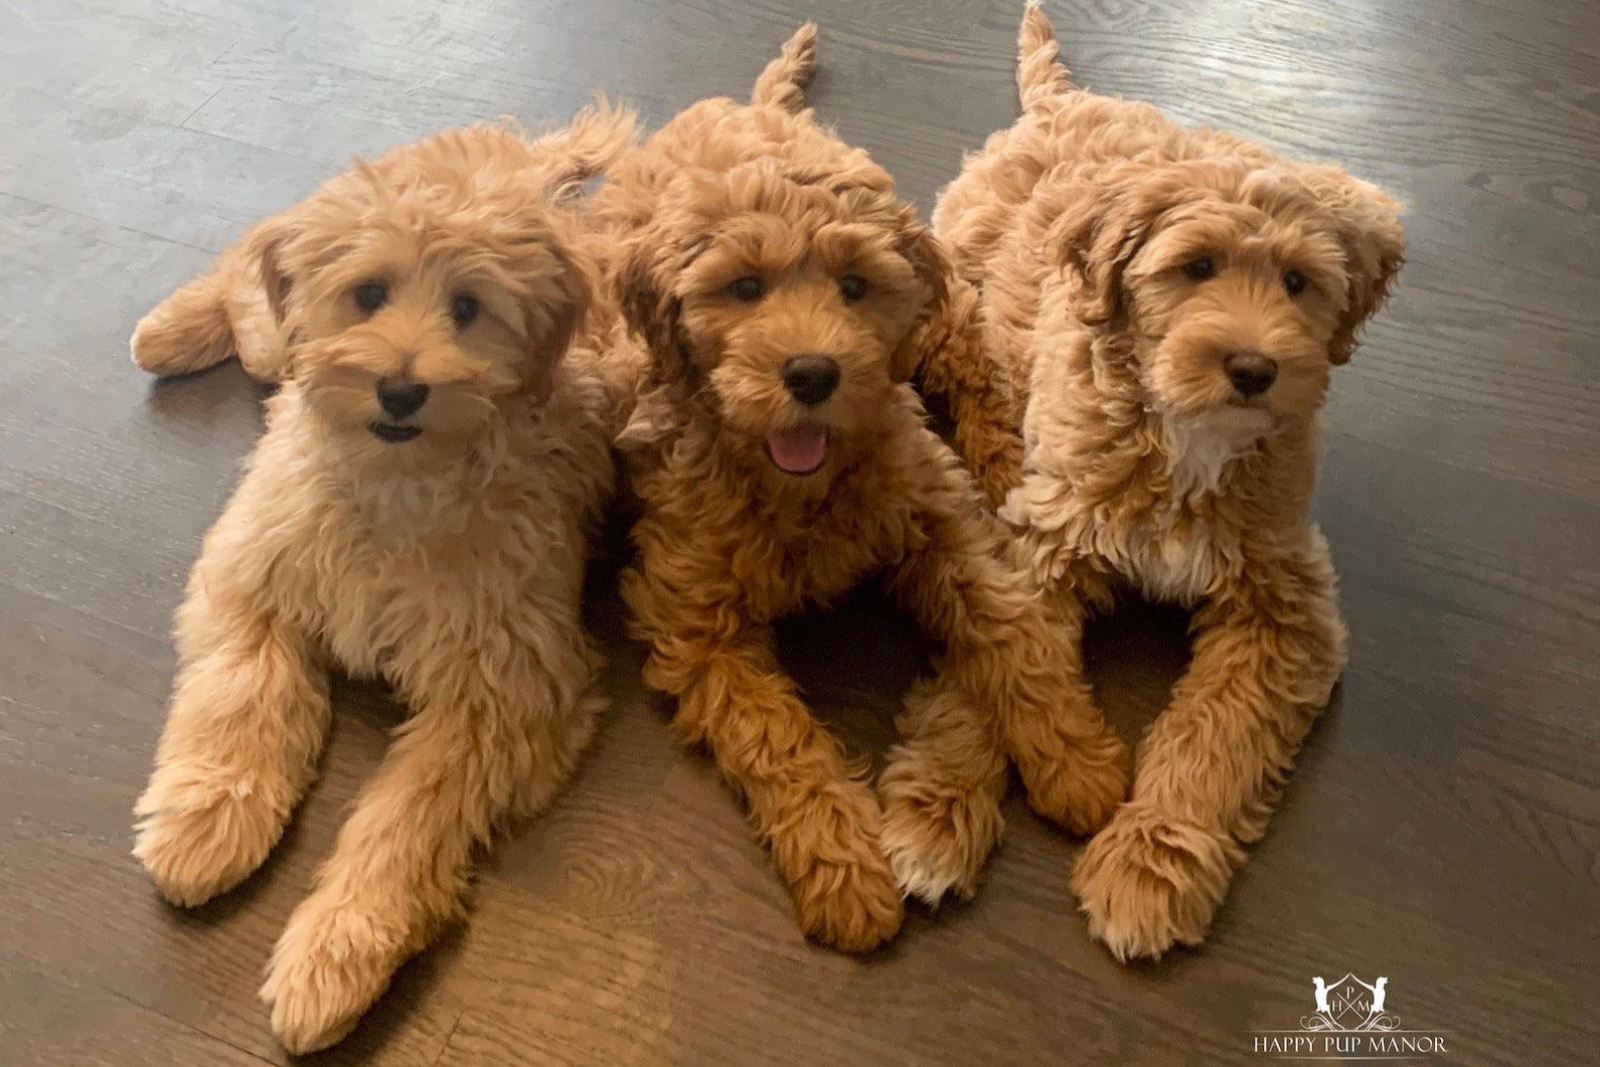
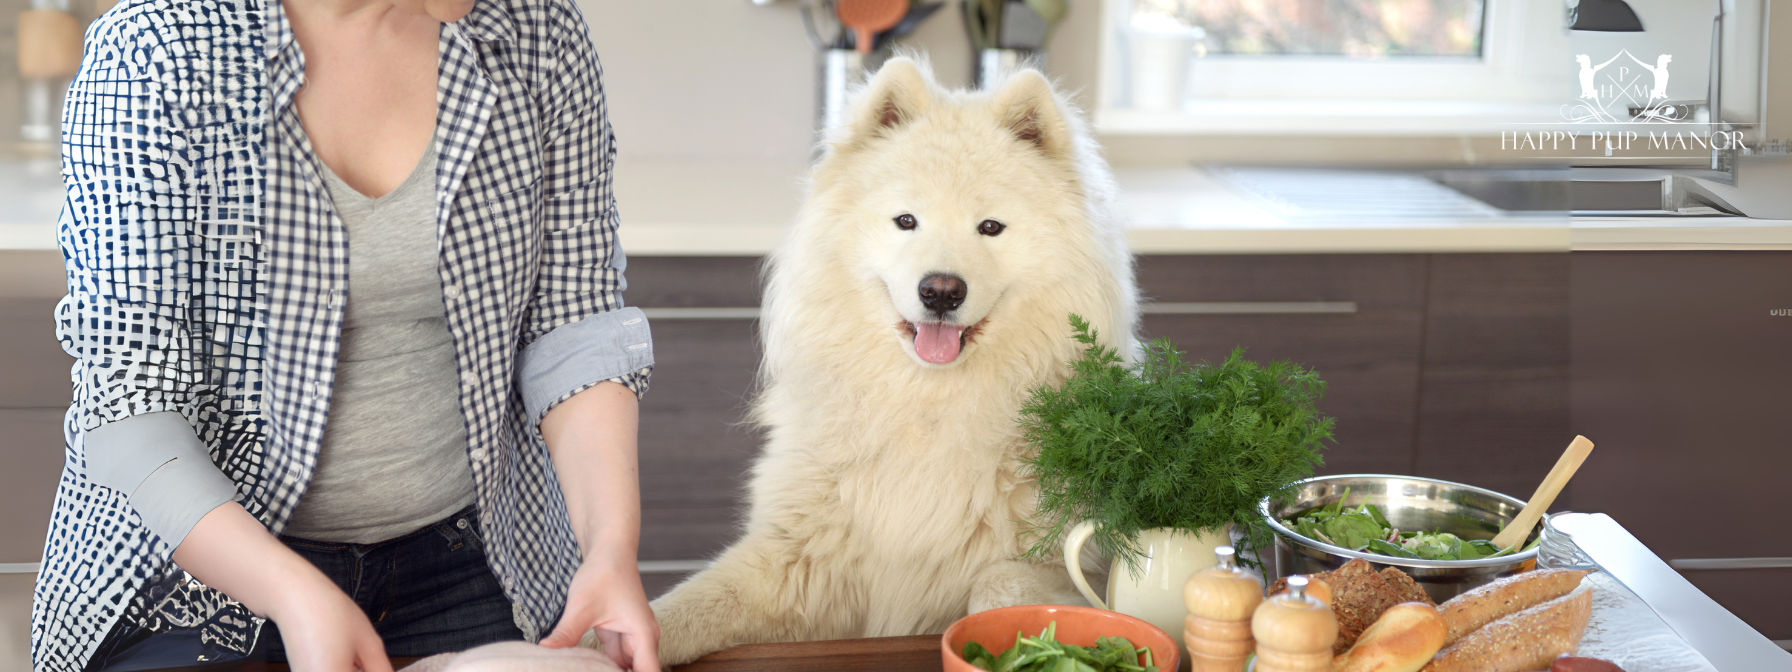
Maybe You'll Like
06Aug
05Aug
01Aug
31Jul
30Jul
22Jul
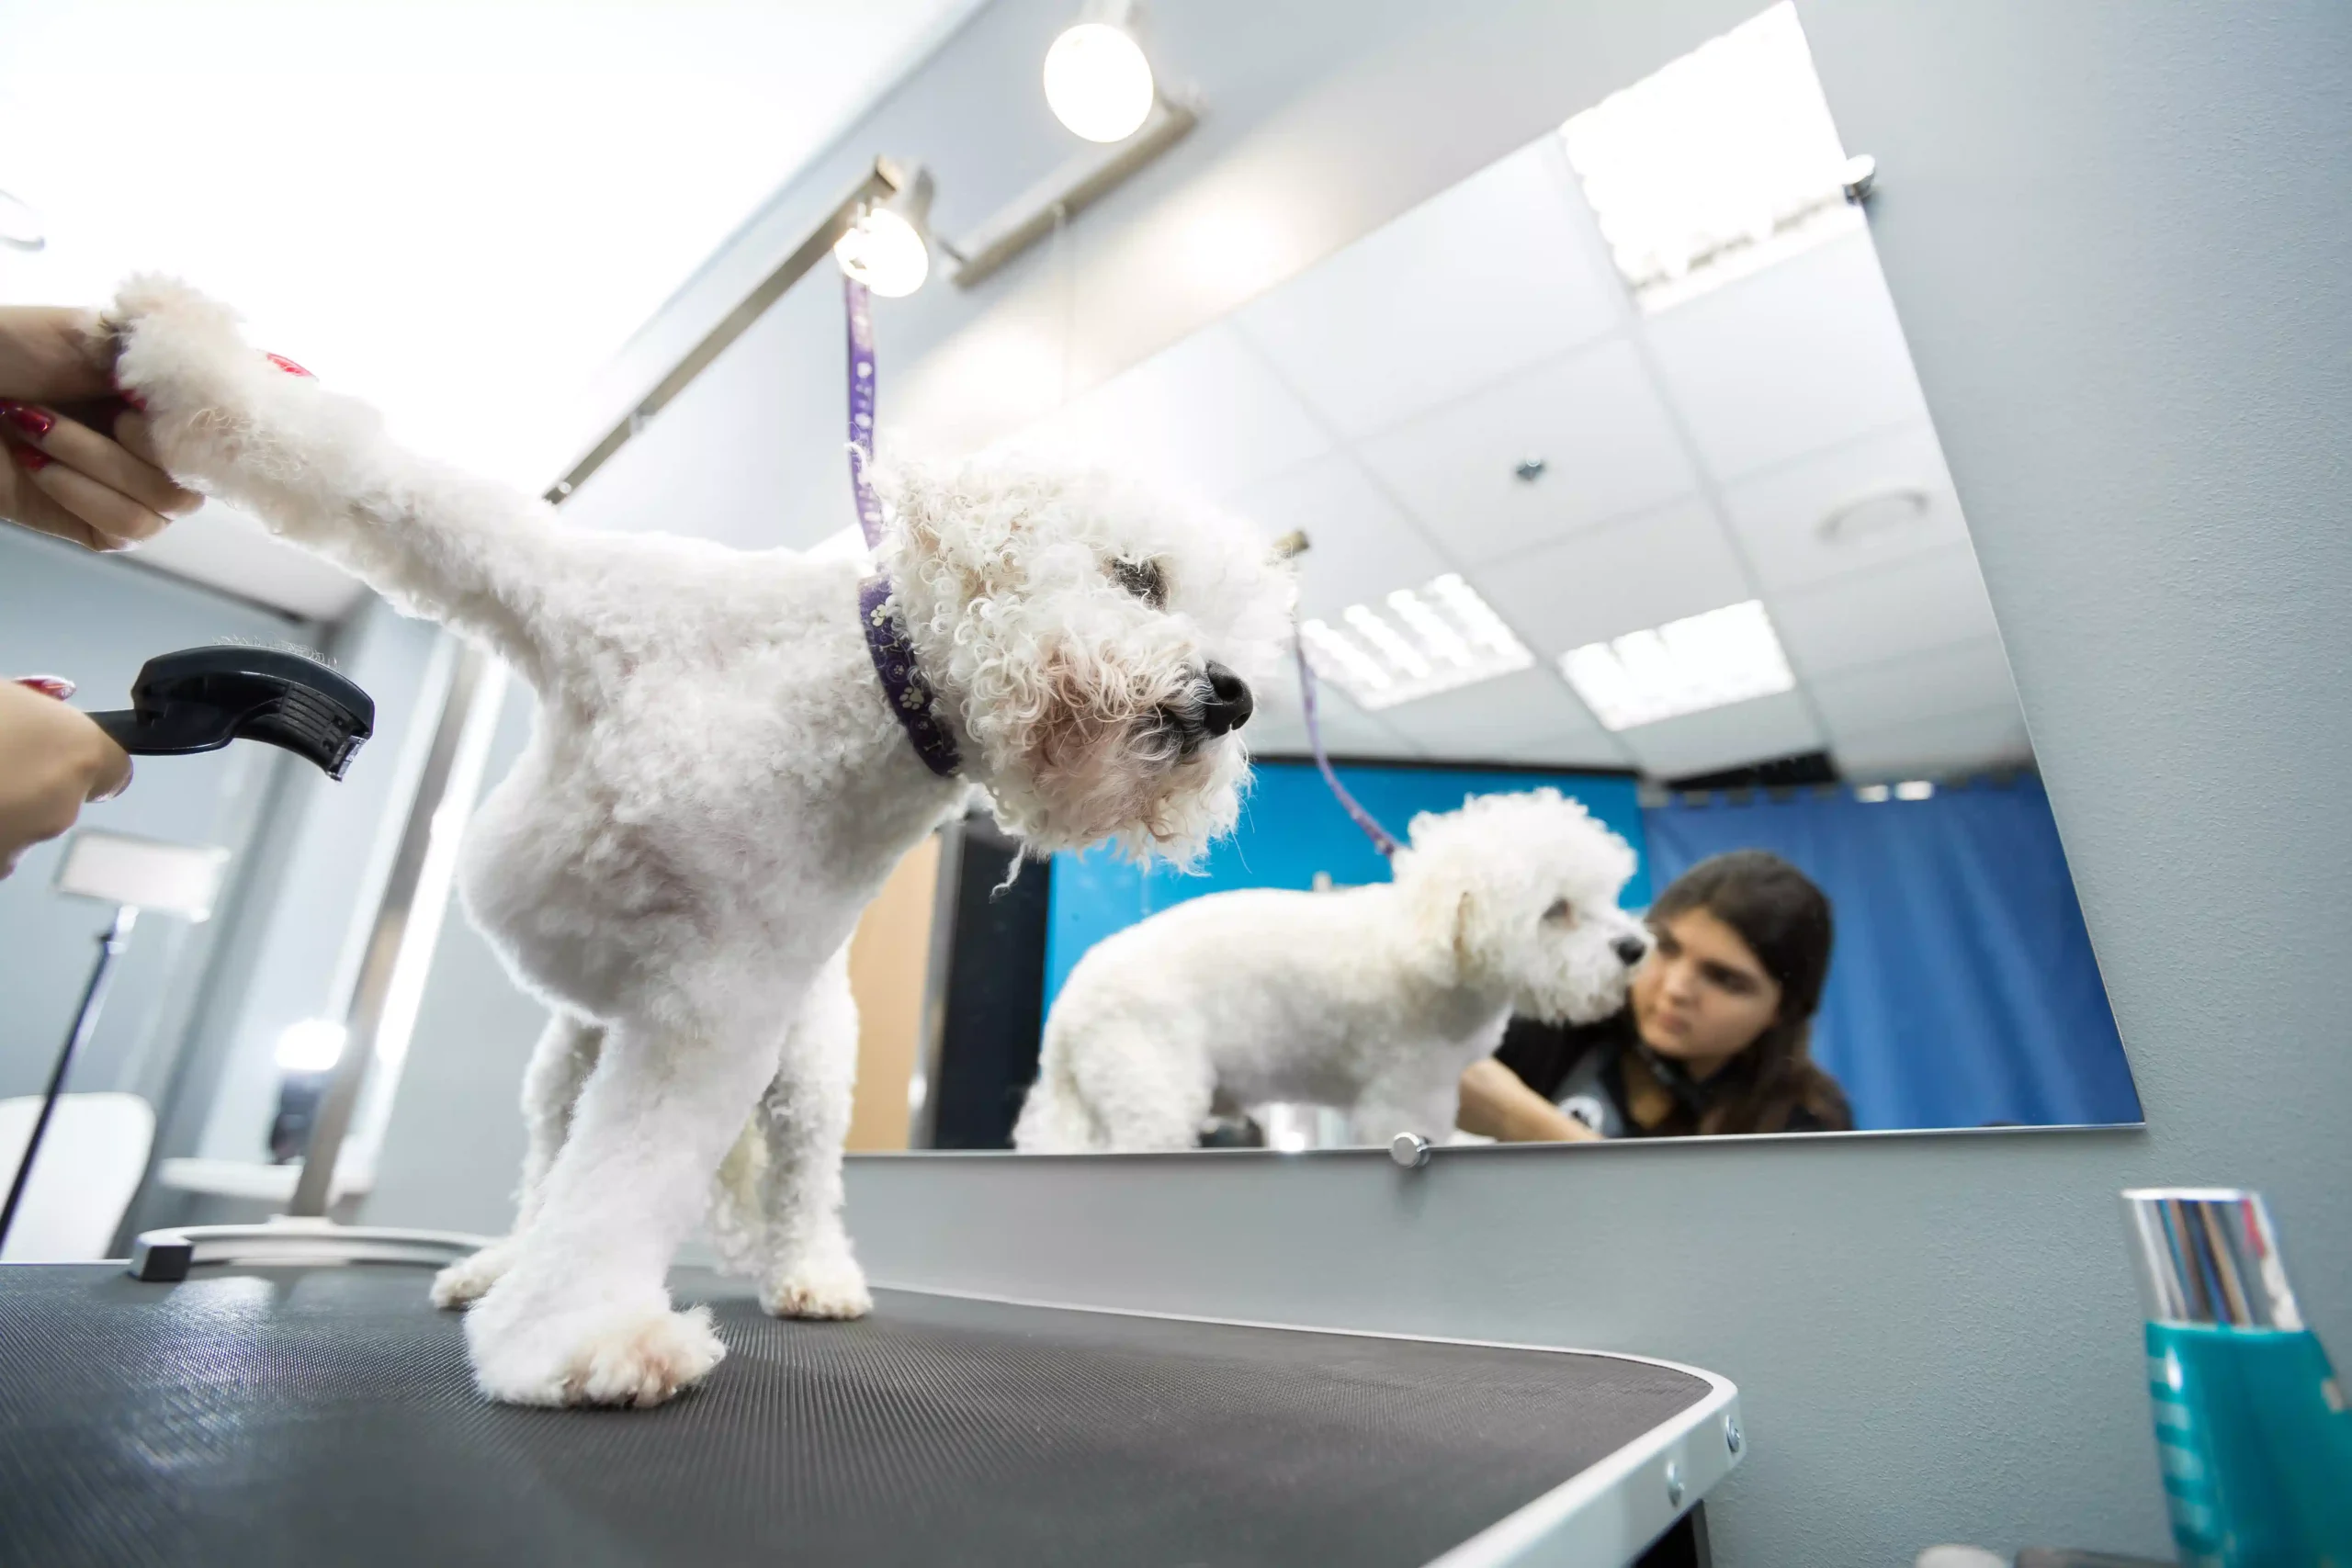
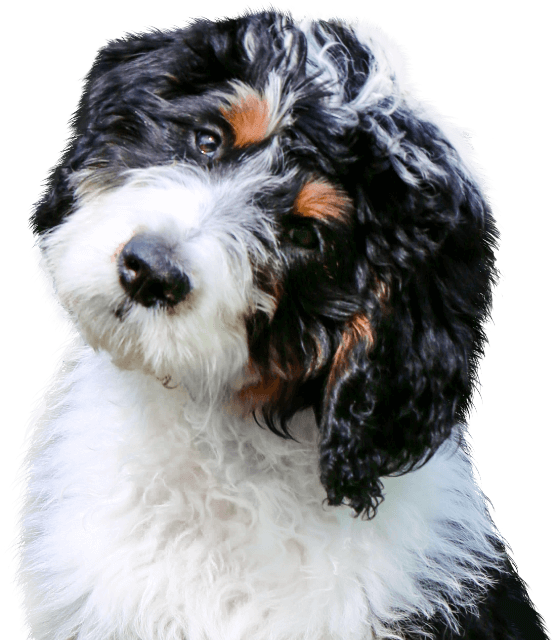
Preparing your dog for a professional photo shoot can be challenging yet rewarding when you capture perfect images for National Dog Photography Day on July 26th. In this article, I share expert tips on grooming, training, location selection, and editing to ensure your pet looks its best. For pet owners seeking additional support, considering luxury dog boarding near you could be an excellent way to ensure your dog receives the care it needs before the big day. Whether your dog is timid or energetic, these strategies will help you achieve crisp, engaging photos that capture your dog’s personality.
Grooming is the foundation of a successful dog photo shoot. A well-groomed dog not only looks attractive but also stays calm during the shoot. This section covers how to bathe and brush your dog, select proper grooming tools, and manage shedding and coat shine for camera-ready results.
Begin by bathing your dog with a quality, hypoallergenic shampoo and conditioner suited to its coat type. After drying, use a comb or brush designed for its fur length to remove tangles and distribute natural oils. Regular brushing before the shoot prevents dirt build-up and minimizes shedding, leaving your pet’s coat neat and vibrant.
Different breeds have distinct grooming needs. Short-haired dogs benefit from a rubber curry brush that removes loose hair and improves texture. Long-haired breeds need a slicker brush for detangling, while grooming gloves work well for dogs with sensitive skin. These tools help evenly distribute oils and reduce static for optimal results when you snap that photo.
Regular brushing reduces loose hair and prevents fur from distracting in photos. A healthy diet and omega fatty acid supplements can enhance natural shine, and a coat shine spray before the session adds a glossy finish. A professional groomer’s blow-dry technique may further help maintain a neat look in challenging conditions.

Behavioral preparation is as important as grooming. A calm and focused pet improves the photography experience. Here, you will find simple training techniques to keep your dog relaxed and engaged when the camera and photographer are present, ensuring a comfortable session.
Teach basic commands such as “sit,” “stay,” and “come” in a distraction-free space, then gradually introduce movement. Positive reinforcement with treats or praise helps your dog associate the shoot with positive experiences, reducing anxiety and keeping focus throughout the session.
Introduce your dog to photography elements in advance. Allow it to sniff the camera and watch the photographer during short, fun sessions to reduce fear. Gradually increasing exposure in different settings helps your pet view the camera as a non-threatening object, leading to natural expressions on the day of the event.
For nervous or shy dogs, create a supportive environment using familiar routines and favorite toys. Having someone your dog trusts present can provide extra comfort. Taking regular short breaks and using calming aids like a weighted blanket or pheromone sprays can also help ease anxiety and build confidence.
The art of dog photography lies in capturing natural expressions and poses that reflect your pet’s character. This section offers guidance on selecting poses and using treats and toys to coax genuine expressions that reveal your dog’s unique personality.
Select poses that showcase your dog’s distinctive traits. A playful head tilt highlights an energetic personality, whereas a relaxed seated position suits a calm breed. Experiment with side profiles, frontal shots, and candid moments to emphasize expressive eyes, pointed ears, or luxurious coat textures.
Using treats and toys can coax engaging expressions. Hold a treat just out of reach to encourage a head tilt or use a squeaky toy for a burst of excitement. These rewards help your dog focus and produce authentic, vibrant images that tell a story of its personality.

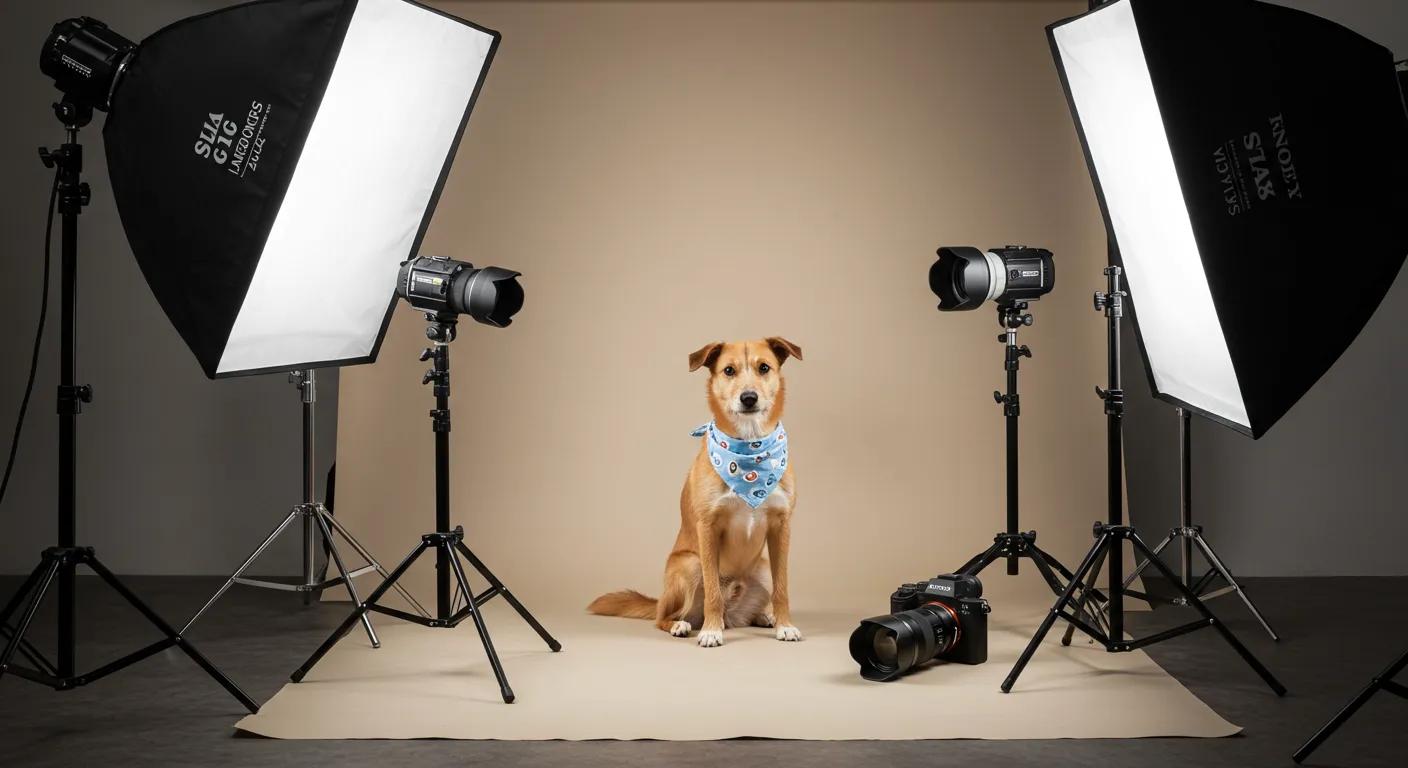
A great backdrop enhances your dog’s photos. This section explains how to choose locations and lighting that complement your pet and avoid distractions, ensuring the focus remains on your dog.
Natural light offers soft, even illumination that enhances your dog’s coat colors, especially during early morning or late afternoon. Studio lighting, however, allows for controlled brightness and shadow management indoors or on cloudy days. Knowing which to use can help achieve striking images with minimal interference.
Choose locations that are quiet and safe. Quiet parks or secured backyards provide a relaxed environment, free of hazards like sharp objects or toxic plants. A scenic backdrop with trees or water adds depth to your images without distracting from your pet’s personality.
The ‘golden hour’—shortly after sunrise or before sunset—offers soft, diffused lighting ideal for dog photos. This warm light flatters your dog’s coat and creates an inviting background. If shooting at midday, find shaded areas to avoid harsh shadows and direct sunlight.
Accessories can transform a simple shoot into an artistic image. The right collar, leash, and props add style and complement your chosen location. This section highlights additional items that can enhance your photo shoot experience.
A stylish leather collar paired with a matching leash can add sophistication for mature breeds, while colorful bandanas, bow ties, or themed costumes evoke playful charm in younger dogs. Props like custom signboards or seasonal accessories tie into the shoot’s overall theme without overwhelming your pet’s natural appearance.
High-value treats and favorite toys serve dual purposes by keeping your dog focused and encouraging natural expressions. By rewarding desired poses and moments of excitement, you create an interactive and enjoyable session that results in authentic photographs.
For high-quality photos, use a camera with fast shutter speeds and good autofocus. DSLR or mirrorless cameras with a telephoto lens capture spontaneous expressions without startling your pet. A prime lens with a wide aperture can beautifully blur the background, and portable lighting such as reflectors or softboxes can adjust indoor lighting for crisp, well-lit shots.

Post-processing is the final step in transforming raw images into polished art. This section outlines simple editing techniques and tips for organizing and sharing your work online.
Editing should be subtle. Adjust exposure and contrast to highlight details in your dog’s fur, and use cropping and straightening to remove distractions. A slight vignette can focus the viewer’s attention on your pet, keeping the natural look intact without over-processing.
Create a systematic folder structure by date or event and use descriptive names for each image. Back up files on both cloud services and external drives to prevent loss, streamlining your workflow for future albums or portfolios.
Instagram, Facebook, and Pinterest are ideal for showcasing your dog photography. Instagram’s hashtag system helps reach a wider audience, while Facebook groups and personal blogs provide supportive communities and professional portfolios, increasing exposure and engagement.
A well-defined checklist ensures a smooth experience on photography day. This final section summarizes the essential preparation steps so you and your dog are ready for the big day.
Set a schedule several days before the shoot that includes regular grooming sessions and short training exercises. Balance play, rest, and light exercise to keep your dog comfortable and familiar with the process, reducing anxiety on the day.
Pack all essentials: grooming supplies, treats, favorite toys, and a portable water bowl. Include a first-aid kit, extra accessories like collars or bandanas, and your camera gear with extra batteries and memory cards. A complete checklist minimizes stress and ensures you capture every moment.
Establish a calming atmosphere with soft music and regular breaks. Monitor your dog’s body language for signs of stress, and use gentle petting and quiet reassurances to keep your pet at ease. A relaxed dog translates into more natural and engaging photographs.
Q: How early should I start grooming my dog for a photo shoot?
A: Begin grooming at least 2–3 days before the shoot to allow for touch-ups and familiarization with the process.
Q: Can I use any type of camera equipment for pet photography?
A: Use a camera with fast autofocus and a wide aperture. DSLRs or mirrorless cameras with a telephoto lens work best.
Q: What if my dog gets anxious during the photo shoot?
A: Use calming techniques such as treats, breaks, and familiar toys to soothe your dog. Consistent training also helps reduce anxiety.
Q: How important is natural lighting compared to studio lighting for dog photos?
A: Natural lighting during the golden hour is ideal for flattering images, though studio lighting offers consistency when needed.
Q: What platforms should I use to share my best dog photos?
A: Instagram, Facebook, and personal photography websites provide excellent exposure and community engagement.
In conclusion, preparing your dog for National Dog Photography Day requires careful attention to grooming, behavior training, accessory selection, and location planning. These expert tips ensure your dog looks and feels comfortable, resulting in stunning, natural photos. With consistent routines, the right equipment, and thoughtful post-processing, your photo session can become a memorable event. Embrace the process and enjoy capturing your pet’s unique personality while creating lasting memories.
The information on this website is for informational purposes only; it is deemed accurate but not guaranteed. It does not constitute professional advice. Testimonials are not a guarantee, warranty or prediction of what your experience with us will be. By providing contact information, users acknowledge and give explicit consent to be contacted via the methods of communication provided, including SMS. Message and data rates may apply. Message frequency may vary. Reply STOP to opt out.
Copyright 2025. | All Rights Reserved | Privacy Policy | Accessibility Notice


